Ingredients:
3 lb chuck roast
5 lb red potatoes (or golden potatoes work great also)
2.5 cups beef broth
merlot red wine
carrots
fresh thyme
fresh sage
butter
salt
pepper
I normally set my kitchen up into 2 stations when I am cooking with meat and vegetables: I set up a cutting board and the meat next to the stove, then on the other side, I set up my crock pot, a second cutting board, and all the vegetables and other ingredients. You start with the meat, wash your hands well, and move over to the veggie side with separate utensils for each side. Cross contamination is dangerous, and this method will help you be safe!
First, you want to brown your roast in a frying pan. This seals in the juices and helps season it. If you don't brown it in a pan, it won't brown in the crock pot, and it won't be nearly as pretty--plus, it will be dry. Put 1 tbsp of butter in a frying pan on med-high heat. Salt and pepper your roast on both sides. Put the roast into the pan, about 1-2 minutes on each side.
You want to make sure to hold the roast up on its sides in order to brown every single edge! When you're done, it should look like this:
Turn off the heat, set the pan (with roast) on an unused burner, and go over to the veggie side of your kitchen and start on the vegetables:
You're going to be layering the ingredients in the crock pot, and I always put the potatoes on the bottom, as they take the longest to cook. Chop your potatoes into 1/2 inch cube-ish sizes, I tend to cut mine into long french-fry sort of slices, as shown. You don't want to have any slices bigger than your pinkie (well, I have little hands, so maybe 2/3 of your pinkie). Add the potatoes to the crock pot, about an inch deep. You'll have a lot of potatoes leftover that won't fit in this recipe, and we'll use them for the stew.
Take your bag of baby carrots and add about the same amount on top of the potatoes.
Now it's time to add your roast. Take your roast in the frying pan over to the crock pot, and gently slide it into the crock pot on top of the vegetables. If there's any butter or juices left in the pan, dump that in there too, as it will add to the flavor!
Next, you need to add 2-2.5 cups of beef broth around the sides, on the vegetables. I suppose I could have done that before I added the roast...
Add half of your Thyme. The spices will lose their potency while cooking, so it is good to cook with half of it, then add the other half a little while before it's done cooking. It makes for better flavor. Now, you're eventually going to have to pick out all those sprigs of thyme, so don't shred them or tear them up at all. You aren't going to want stems in the finished product. It's a bit of messy work, but the flavor is worth it!
I also like to add a couple of sage leaves (always fresh herbs, of course!)
Next, you want to add your wine. I found this merlot on sale for $3.99. You may want something better, but it's not so important to have the best wine when you're cooking with it. When putting the wine into the crock pot, dump it over the roast, so it fills in the crevices of the roast.
Now, I wouldn't normally add butter, but it's my husband's birthday, and he loves butter on beef. Plus, he's one of those men who eats like crazy, yet stays thin, with perfect bloodwork. See how the wine filled up those crevices in the roast? That's going to taste sooo gooood!
Set your crock pot on low for eight hours.
Here is how it looks after 2 hours:
Here's how it looked after 4 hours:
As you can see, the temperature is 160 degrees. If you want your roast to be medium-well, add the thyme and let it sit on warm for about 15 minutes, then take it out to serve. If you want it well-done, then add the thyme and let it cook for the remaining time.
***edit***
I have since altered my recipe so that you leave the roast in for 8 hours. This makes a roast that falls apart with a fork and melts in your mouth. If you want a firmer, more steak-like roast that is medium well, take it out after 6 hours, but I highly recommend the 8 hour setting.
After six hours, take out your roast, pour a little juice on it from the crock pot, and let it sit for 5 minutes before you cut it. This is a good time to dig out your sprigs of thyme from the crock pot and throw them away. You won't need them in there for the stew, so take a fork and dig them out. Cut up your roast and enjoy!
Now that you may have a little meat left, and you've probably got a crock pot full of juice, extra vegetables, and some other ingredients, let's make that into stew! First, take your leftover meat (without the fat) and cut it up into little cubes. Add it to the crock pot.
Add more carrots and more potatoes. I still had about 5 potatoes leftover after I added as many as I could to the crock pot. Next, add enough broth to cover the ingredients, and add some more wine, too!
If you want your stew to be a little creamier (like I prefer), add a bit of half and half or whole milk at this point (or whatever milk you have on hand). I used a bit of half and half, because it's all I had on hand (and it's delicious!).
At this point, you will have new potatoes and old potatoes (as well as carrots) in the crock pot. This works quite well, actually, because the old potatoes will begin to liquefy and make the stew thicken. Set your crockpot to low for 10 hours, and go to bed. Your stew will be ready in the morning, and will be a great lunch.
This morning, I went to check on my stew, and it smelled delicious, but it was still more like soup than stew. To remedy this, I did the following:
Take 2 tbsp butter and put it in a frying pan on medium-high heat.
Once it is completely melted, add about 1/3 cup flour and stir continuously. keep adding flour until the mixture is a play-dough consistency. This is called a rous, and it is a base for many sauces, especially in French cooking.
Add the rous to your crock pot and stir it well.
Eventually, the mixture will thicken up a bit, and look more like this:
I then turned my crock pot on high and left it for 2 hours uncovered, stirring about every 1/2 hour. The end result didn't look very thick, but trust me, once it cools, it will be great stew! At this point, the beef just melts in your mouth!
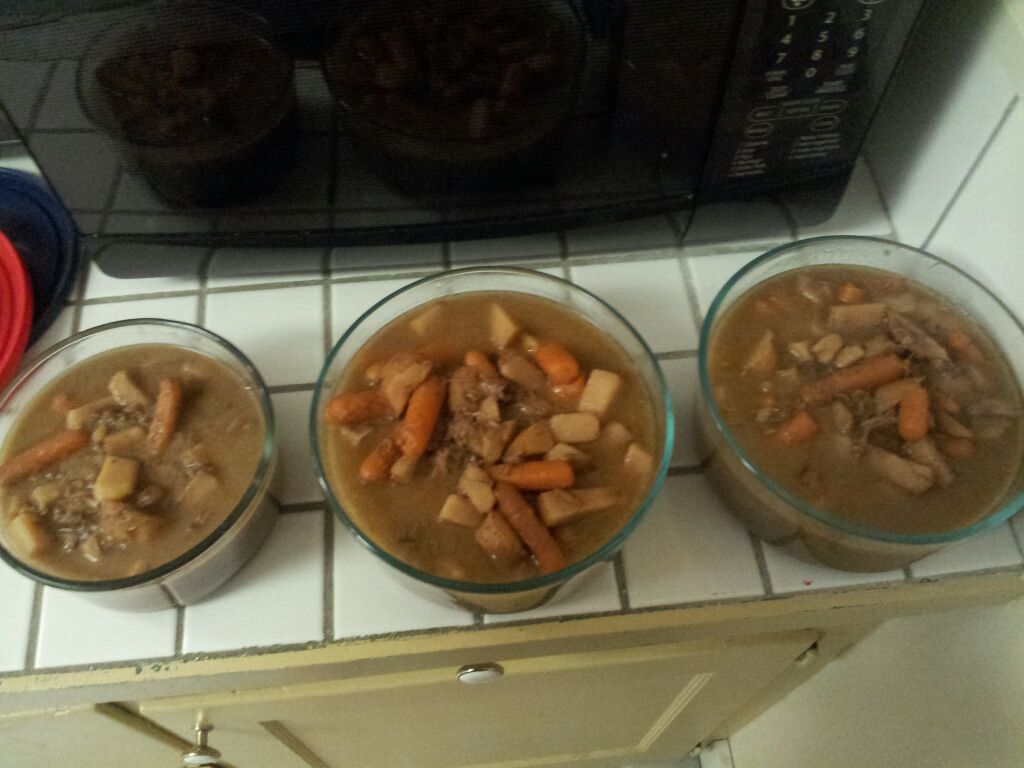
Here the stew is after cooling for an hour or so. You can see that it is continuing to thicken. At this point, divide up the stew into some tupperware containers and place the lids on loosely, and leave them out to continue to cool. Placing them in the refrigerator or freezer while still hot can be very dangerous and cause bacteria to grow in your other food, so leave it out until it is about room temperature.
We had a great dinner last night, and now we have six quarts of stew to freeze and take for workplace lunches! How easy is that?